Saturday, January 7, 2012

Better Bottle Hack

After listening to many, many episodes of Can You Brew It on the brewing network, the standard volumes they use are a part of my process.

For a 60 minute boil:

  • Mash and sparge to 7.2 gallons
  • Boil down to 6 gallons
  • Transfer 5.5 to the fermentor
  • Finish with 5 gallons of clear, drinkable beer


Since none of my boil kettles have a sight glass on them, I decided to do something I'd been thinking about for a while. I measured out a half gallon of water, put the better bottle on a flat, level surface and started marking. After the first half gallon, I did full gallons up to 5.5. (It's actually a bit higher up in the Better Bottle than I thought it would've been. Regardless, after the massive blow-out I had earlier this year in a Russian Imperial Stout, I've started adding fermcap to my fermentation now as well.)

Here's the end result. It made it a whole lot easier to top a partial boil extract batch up to the correct volume at the end of the process and should make it a hell of a lot easier to transfer out exactly five gallons of finished beer.

I could've gone with the fancy vinyl stickers I've seen elsewhere, but a sharpie seems to have worked just fine this time around.

Friday, January 6, 2012

Extract Process (Revisited) Part II

So what better way to ring in the new year than by brewing a couple batches of beer?

As I mentioned in a prior post, I had been planning on doing a couple of extract batches this winter to try to stay out of the bitter Chicago cold but keep up on brewing.

I wrote up my process here ahead of time, which ended up working relatively well. Unfortunately, it's been quite a while since I brewed inside and I ran in to a couple of trouble spots on the first batch. (Imperial IPA from Brewing Classic Styles)

Firstly, I did a full 6.5 gallon boil instead of the 3 gallon boils I used to do on the stove. I remember reading somewhere that natural gas has significantly less heat energy than propane, but didn't really take that to heart. It took almost two hours to get it up to boiling, with two burners on my stove at full blast. That sucked.

Secondly, the cooling stick I bought ended up barely having any effect on the temperature of the wort at all... I probably should have thought out the physics on that one. 1 gallon of frozen water really doesn't have much of an impact on 6 gallons of boiling hot, sugar laden wort. It got the wort down to about 165 in 30 minutes. Not so good either.

All in all, six hours start to finish on an extract batch is pretty weak in my opinion.

So, I adjusted for those issues on the second batch of the long weekend. (Mexican Hot Chocolate Stout - recipe to follow.)

I did a 3 gallon boil, which made an enormous difference in the time to get the water up to temp. After finishing my boil, I used an old trick Alton Brown recommended on his episode of Good Eats about brewing. Dump a 7lb bag of ice plus a gallon of near-freezing distilled water into your wort as soon as you kill the heat. That alone dropped the three gallons of wort to 115F in about 3 minutes.

Three hours start to finish on the second batch. That's more like what I expect from extract brewing!

Friday, December 30, 2011

Reusing Star San

I switched to Star-San earlier this year and have been pretty happy with the product overall. However, having just recently bottled up ten gallons of Russian Imperial Stout, and looking at bottling a five gallon batch of lambic and a few assorted other brews, I stand to keep using the stuff at a pretty quick rate. I'm on my second large bottle this year and it definitely adds up. 

I'd read in a few places that one can re-use it as long as the pH stays below 4 (although 3 seems better if you can store that strong of an acid) and it's clear.

So here's my plan to start doing so:
  • Buy some pH test strips which read down into the 2.x range
  • Mix it with distilled water instead of tap water
  • Store it in an unused, PBW'd corny keg or a heavy duty plastic bucket with a lid
  • Test the pH before each use and either add more concentrated Star San if it's still clear or dump and start over if the liquid is cloudy
Anyone else out there had experience with this? I'll follow up on how it works for me.

Monday, December 26, 2011

Extract Process (Revisited)

Faced with a Chicago winter (albeit an unseasonably warm and dry one - knock on wood) I've moved my brewing inside for the winter and switched back to extract as an experiment. Having developed a solid all-grain process, I'm going to try to incorporate what I've learned into a better extract / stovetop process. If you're just starting out, this should provide a good outline for a regular brew day. Just ignore the steps you don't know anything about or don't have equipment before.

So without further explanation, here's a first crack at it:
  1. [24 hours ahead of brew day] Prepare my yeast starter
  2. [24 hours ahead of brew day] Freeze the chill stick (I work in the restaurant industry at my day job...)
  3. Get all of my ingredients and necessary equipment together
  4. Fill the fermentor with sanitizer and sanitize the transfer hose, airlock, carboy bung, and oxygenation rig
  5. Get my instruction sheet out (seriously)
  6. Fire up the ten gallon kettle with a spigot and fill with 6.5 gallons of distilled or reverse osmosis water
  7. Treat with Gypsum or Calcium Chloride only to accentuate bitterness or malt flavor, not to adjust pH. (Extract removes the need to worry about this.)
  8. Steep the specialty grains while heating the brewing water up to a boil. (140F for 10-20 minutes. Although exact time and temp don't matter that much from what I understand.)
  9. Ramp up to boil with my weak-ass gas range (It take two of the burners to get the ten gallon pot rolling.)
  10. Add fermcap
  11. Add the extract and hops per my recipe, making sure to add whirlfloc at 15 minutes
  12. Kill the heat and whirlpool with the chill stick for about 15 minutes
  13. Take a gravity reading and adjust for wort temperature
  14. Transfer 5.5 gallons to the fermentor
  15. Add more fermcap
  16. Oxygenate for 15-30s, depending on the gravity of the beer
  17. Pitch the starter once the wort has cooled to roughly 64F
  18. Seal it up and drop it in the fermentation fridge, racking a small sample into a test jar with a hydrometer in it for watching the gravity.
  19. Keep the temperature steady for the first 72 hours and then ramp up the temperature up 4-6 degrees F during the last 25% of fermentation. If the recipe calls for dry hopping, this is the time to do it.
  20. Once fermentation is complete, let the beer sit for a few days at the final temperature, then cold crash in the fermentor to 34F. 
  21. Let the beer sit for another 1-2 weeks on the yeast to let them do some further diacetyl cleanup and the other good work they do.
  22. Rack 5 gallons of "bright" beer to a corny keg and force carbonate with CO2 to get to an appropriate level for the style.

Saturday, December 24, 2011

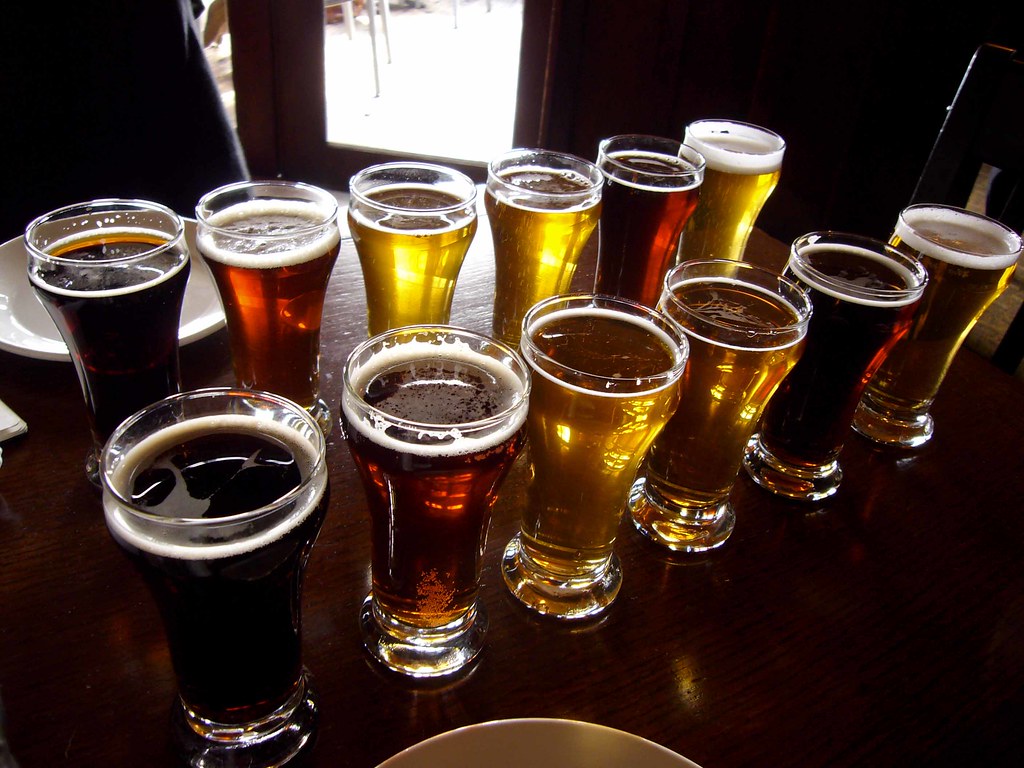
Some Thoughts on Brewing to Style

In one of my earlier posts, I talked about my plan to brew a handful of extract recipes from Brewing Classic Styles this winter. Part of the reason the "classic styles" the BJCP recognizes evolved was the water supplies in different brewing cities. (This is a logical extension of my post yesterday.)

It's an example of human ingenuity allowing our predecessors to adapt to their surroundings. I'm pretty sure that some Irishman way back in the day didn't say to himself "Hmmm. I'd really like to make a jet-black, roasty but balanced beer." or "I bet if I throw a bunch of this malt that I accidentally burned the crap out of while trying to dry it out into my standard recipe it'll taste better." Someone just did it by accident or out of necessity and noticed that it tasted better than the way they were brewing before. I haven't done extensive research on the topic, but my guess is that the styles evolved out of necessity.

So I have to ask the question - what's with the obsession with style? I get that having a common framework to talk about our beers makes sense. Hell, I've been brewing a handful of the styles lately to get a better sense for what works in a recipe. I want to know what flavors a single grain, hop variety or yeast strain contribute to a beer. It's really helpful to know what ingredients or process make two beers that look very similar on paper taste completely different. That makes me a better brewer.

But when it comes to designing new recipes or classifying some of my absolute favorite commercial beers, the importance of style starts to fade. The Citra IPA Jeremy and I recently brewed was amazing and did fit into the IPA guidelines, but it wasn't quite bitter enough for his tastes. Firestone's Double Barrel Ale is an amazingly executed "English Pale Ale", but it doesn't come close to fitting any of the classic English Pale Styles. Lagunitas's Little Sumpin Sumpin is an undeniably delicious beer that doesn't come close to anything in the BJCP.

There's even a budding category that the BJCP is going to have to recognize soon - the Black IPA (or cascadian dark ale, the heavily pacific hopped robust porter, or whatever it is you want to call it.) And that's my point. The collective knowledge of brewing science has evolved far beyond what the Bavarians knew in the 1500's when they developed some of the styles that have made their way into what we recognize today or what the monks in Belgium understood. We have universities studying fermentation science. We have better malts, new hop varieties and a far greater understanding of the chemistry involved in the brewing process. We have the ability to brew beers that simply couldn't have existed a hundred or five hundred years ago. So brew like a homebrewer and don't be afraid to experiment. Throw some Pacific coast hops into your German Pilsner or use that Belgian yeast in your porter. Let your palate tell you whether the end result is great or not so good. Use the styles as a framework, but don't be constrained by them.

(Image used under the creative commons license. Original is here. You have to love Flickr.)

Thursday, December 22, 2011

Things I Wish I'd Known

I've been listening to some back episodes of Brew Strong during my commutes this past week and particularly those about brewing water. There's a ton of useful information in them about how water chemistry makes a difference and some pretty advanced information about how to adjust your brewing water for different styles based on the grain bill you're using and your local water. I'll save that for a future post.

However, there are some really simple take-aways which I wish someone had told me early on:

  • There's a historical reason that certain cities brewed different styles of beer. More alkaline water supplies need to be balanced with roasted, darker malts. They contribute a lower pH to the mash and brewing process overall, which gets the mash pH and final beer pH into the optimal range. Likewise, cities with more neutral water supplies brewed lighter colored beers because they didn't need the acidic contribution of the roasted malts.
  • If you're an extract brewer, use distilled water. The malt extract you're using already has an appropriate mineral content, acidity and hardness for the malts used to make it. Don't bother with anything else.

(Image used under the creative commons license. The original is here.)

Sunday, December 18, 2011

A Little Bit of Beer Porn

Happy Hannukah to me.


(Sorry about the slight blurriness in the picture - I took it on my phone because I wanted to get all of this properly stashed away in the fridge.)